 You can create InDesign object styles in just three steps. Object styles will make your work much simpler, and you’ll move along faster as a result.
Paragraph styles and character styles work wonderfully, right? Well, object styles work the same way. We give instructions for setting up InDesign object styles in Book Design Made Simple (see below).
Once you’ve made the InDesign object styles, applying them is just the same as applying paragraph or character styles.
What are InDesign object styles?
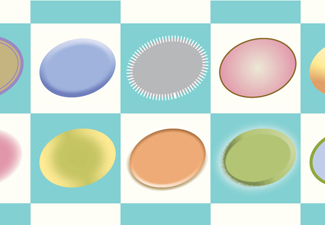
An object style is similar to a paragraph or character style, in that each style contains detailed specifications for the appearance of one element. Let’s suppose you’re using a gray box behind all of your sidebars. Create a new object style based on the gray box, and every time you need another gray box, you can create a blank box and apply the object style to it.
Creating InDesign object styles
To create an object style, first select a shape, line, text frame, or image frame that is already set up the way you want it, then create a new object style for it. Here are the steps:
- Open your Object Styles panel by clicking Window>Styles>Object Styles.
- Using your Selection Tool, select a shape, line, or frame.
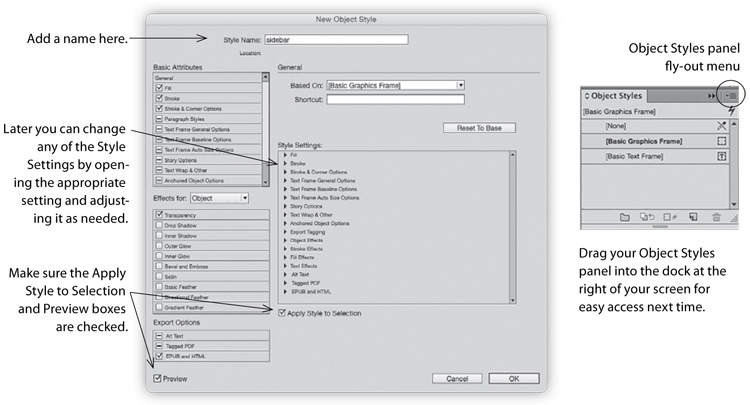
- Click the fly-out menu in the Object Styles panel, then select New Object Style. Fill in the dialog box as shown below, then click OK.
Organizing your objects
Another way to organize your objects might sometimes work better for you. We developed two videos to show you the difference between objects styles and InDesign libraries, and why to use each.
Watch an InDesign video tutorial: Using InDesign object styles »
And another video tutorial: Using an InDesign library »
Read more: Using the InDesign stroke panel »
The excerpt above is from Book Design Made Simple, Second Edition, chapter 38, Using object styles, page 277. Copyright © 2017 Fiona Raven and Glenna Collett.
Need more info about book design, InDesign, and publishing? Our website, book, videos, and blog cover every aspect of how to design and publish a book, whether you’re already an experienced book designer or a complete novice. Download chapters 1 through 9 of the book by subscribing to our blog—simply fill in the form below, and click the Join Us! button.

